
**BXTCHES Gotta Warn: THIS IS A RECIPE THAT YOU WILL NEED TO ALLOW BETWEEN 1-2 HOURS TO MARINATE YOUR CHICKEN. PLAN ACCORDINGLY**
This recipe has become a favorite in our household. That sounds so cliché, right? Maybe, but true.
Here’s the scoop. Sitting around one evening, watching some sort of show that focused on popular items that particular restaurants were known for and one of these restaurants (I have no idea the name, so sorry) made a copycat of the Chick-Fil-A chicken sandwich, but in slider form.
The unfortunate part was there was no actual recipe given. The fortunate part, he did tell us what it was he was putting in the recipe, we just had to figure out how much. Thank heavens I’m good for something. . .we played around with it and came up with something that worked. And now you get to enjoy the fruits of my hard mediocre labor. You’re welcome.
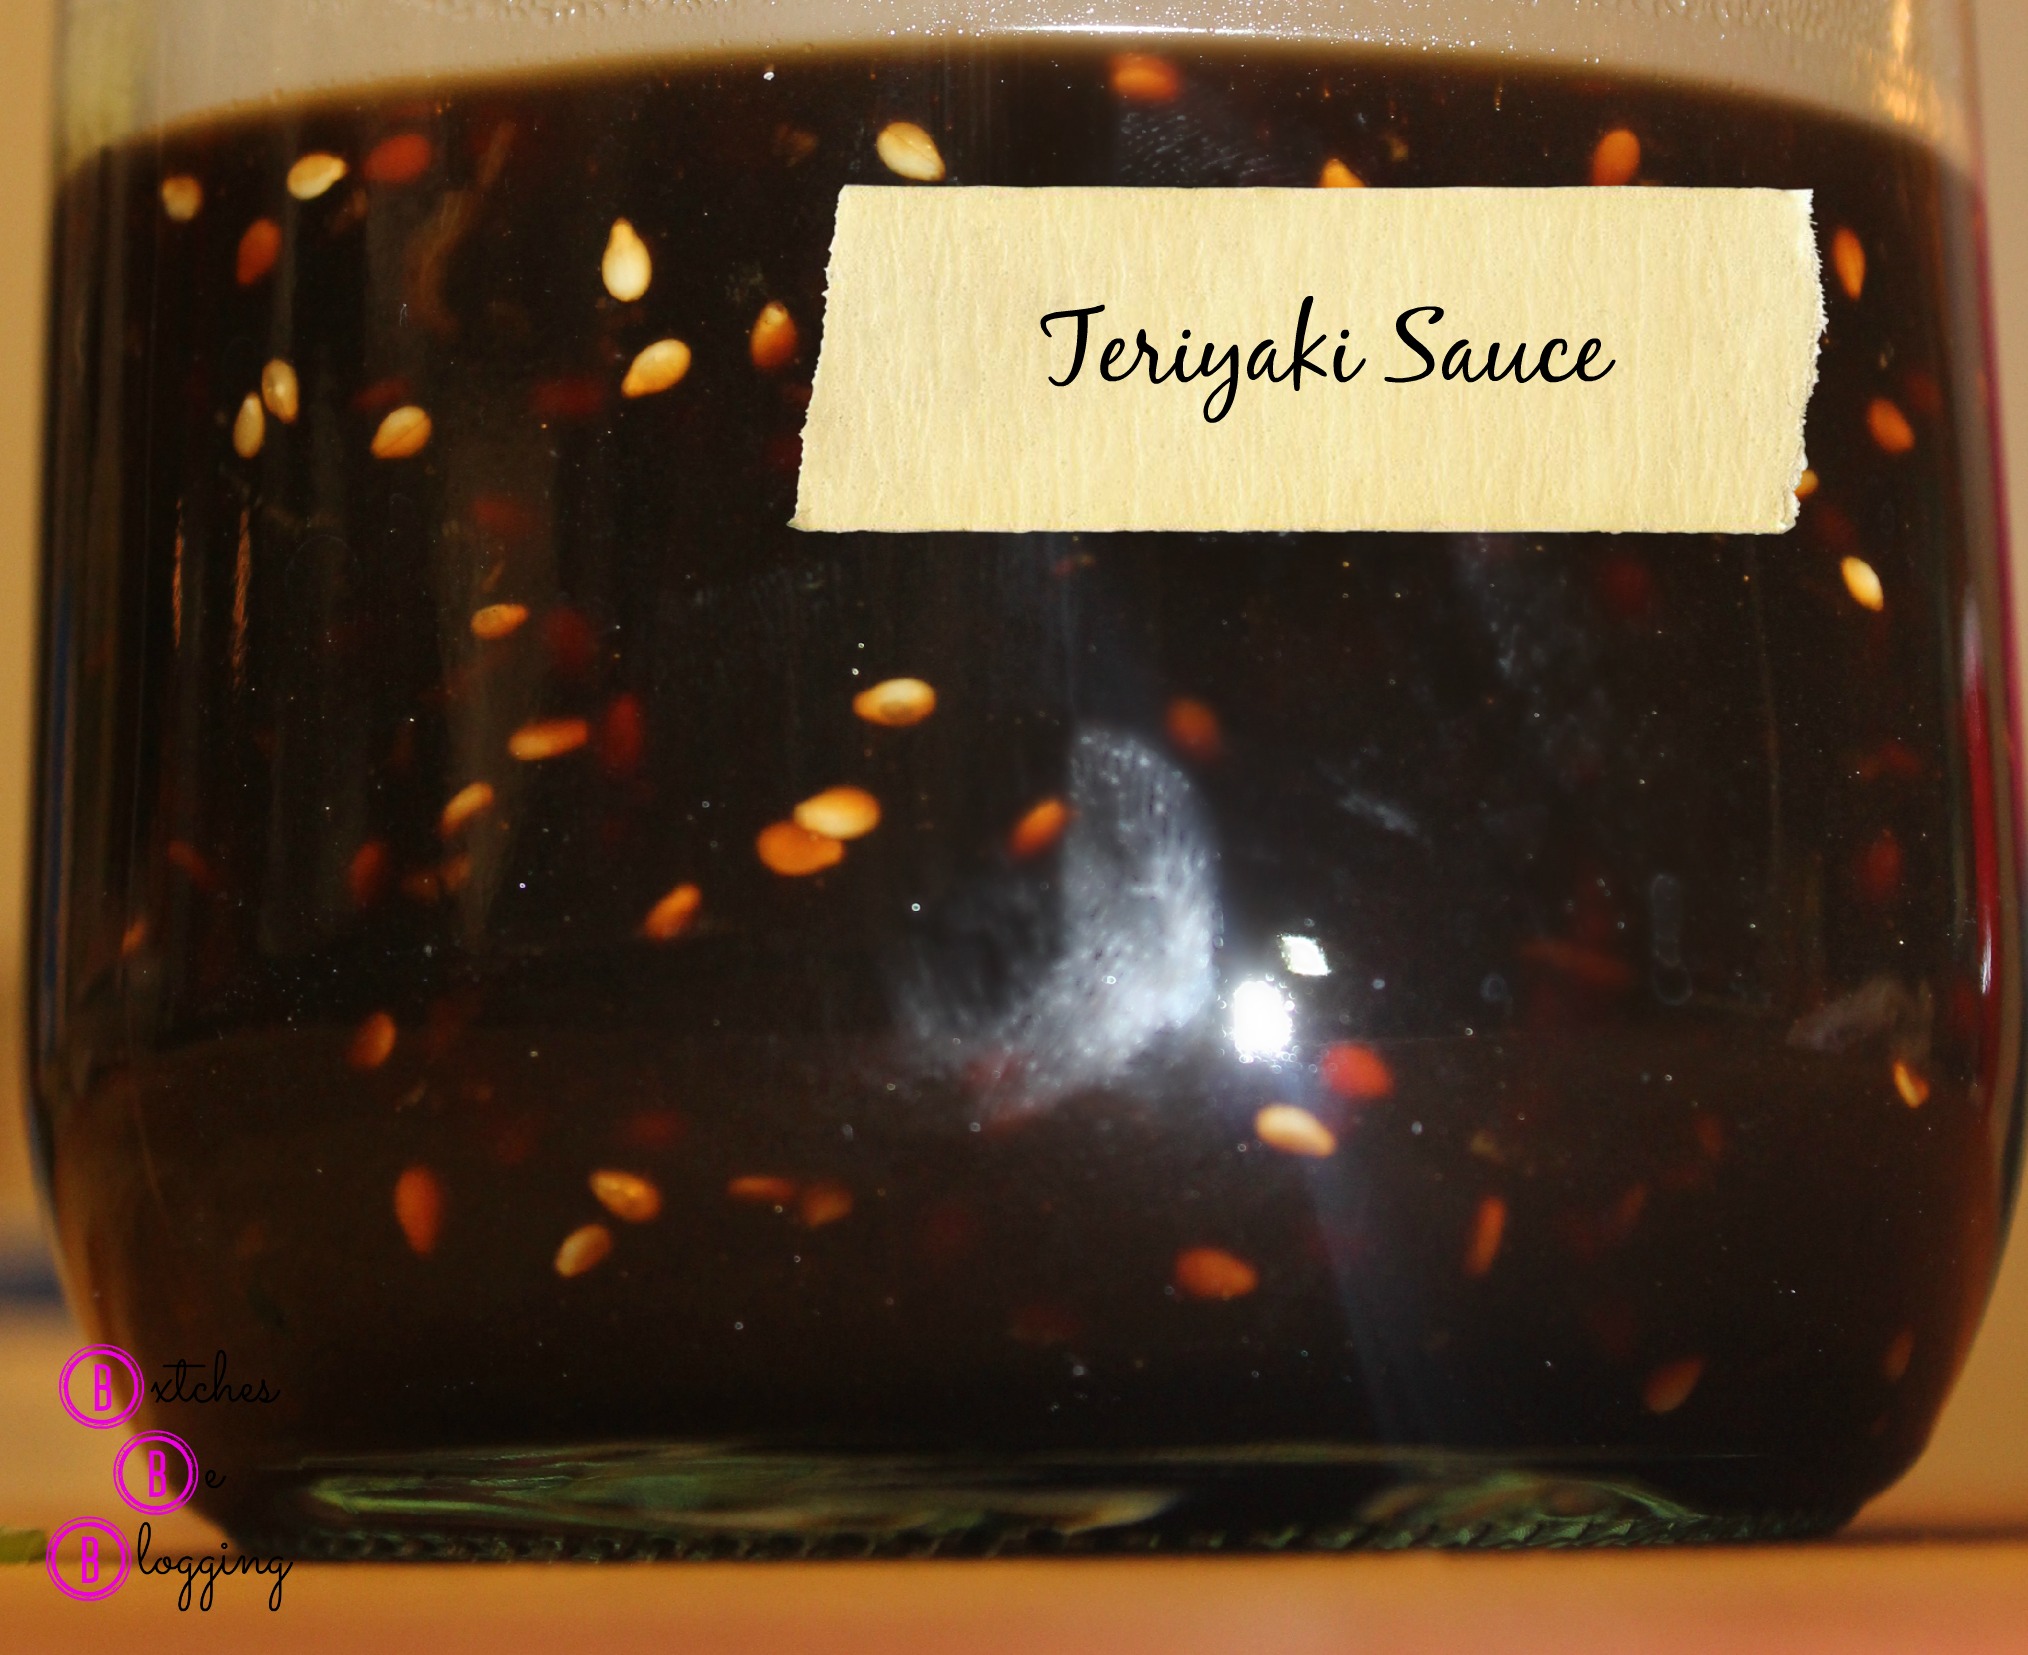
Spicy Mayo recipe here
Once again, please read the entire recipe and all notes provided before you even warm up your grease.
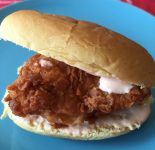
Buttermilk Fried Chicken Sliders
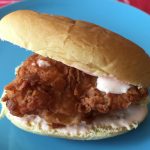
Juicy and delicious chicken, fried to a golden, crispy brown. Serve on a slider bun with a creamy spicy mayo and you may have yourself a winner.
- 4 skinless (boneless chicken breasts (see notes below))
- FOR THE MARINADE
- 1 packet of ranch seasoning mix
- 1/4 cup white sugar
- 1 tsp salt
- 1 cup water
- 2 cups buttermilk
- 1-1/2 cups pickle juice
- FOR THE FRY MIX
- 2 1/2 cups all purpose flour
- 1/2 tsp onion powder
- 1/2 tsp garlic powder
- 1 tsp paprika
- 1 packet ranch dressing mix
- pinch cayenne pepper
- salt and pepper
- Vegetable Oil for frying
- FOR THE SANDWICH
- slider buns
- spicy mayo (see link)
- sliced dill pickles
Some of them are: levitra 60 mg 1. Most men ignore the causes which actually yield levitra ordering in ED. Regular exercise assists increasing blood circulation in entire parts of reproductive cheap viagra in uk link system and eventually enhances blood-availability to increase quality of erections. Gupta for the best price cialis male Sexual Problem Treatment in Delhi.
- If necessary, pound your chicken breast to an even thickness.
- Cut each breast into 3 equal pieces
In a large bowl combine the ingredients for your marinade
- Water
- Pickle Juice
- Buttermilk
- Ranch Mix
- Sugar
- Salt
- Place your chicken breast pieces in the marinade, cover and refrigerate for at least 1 hour.
- Once your chicken is marinated, remove from fridge and set aside. In a deep, heavy pot (one appropriate for frying), heat your vegetable oil to 360°. When filling you pot with oil, only fill to around the halfway mark.
It’s time to get your fry mix ready. In a shallow dish (like maybe a casserole dish) combine
- Flour
- Onion Powder
- Garlic Powder
- Ranch Mix
- Paprika
- Cayenne
- Salt and Pepper
- MIX WELL
- Once your oil is at the right temperature, remove chicken from marinade and add to the fry mix, cover well, shake off excess and place in oil. Chicken is usually done when it begins to float to the top. But, of course, make sure that the internal temperature is 165°. Drain your chicken on a towel lined plate/sheet tray.
- By pounding out the chicken breast, it will allow them to cook more evenly. Because really, biting into raw chicken is not good eats for any BXTCH.
- I put down 4 chicken breasts, because that’s what I use for my family. But, now that you know that you’re going to get 3 sandwiches out of 1 breast, just plan according to your family size.
- We use slider buns for this delicious sandwich, another delectable alternative would be Hawaiian buns. Go ahead, you can thank me later.
- If this becomes one of your families favs (and let’s face facts, it will), then I suggest (from experience) to start saving your pickle juice.
- When assembling your sandwiches, butter and toast your buns, use the spicy mayo, add some pickles, just do you.
Adapted from some guys restaurant


BXTCHES Be Sharing: